Grilling with Saffire
Learn How to Cook Like a Champion
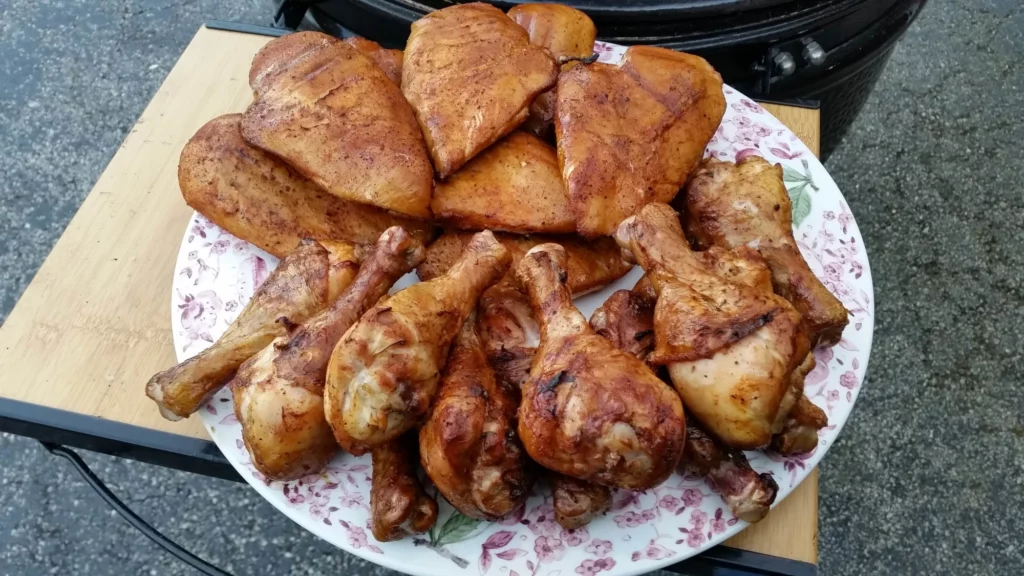
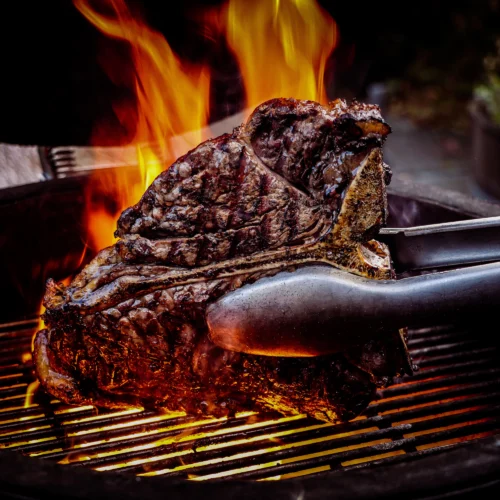
Kamados are well-known for cooking mouth-watering meats: steaks, ribs, burgers, poultry, and even fish. Kamado grilling not only means high-temperature grilling, but also slow smoking and even baking. You can learn how to cook almost anything on a kamado.
Imagine such exotic foods cooking on your grill as pork roast, pot pies, beef jerky, pizza/calzones, bacon and eggs, homemade bread, or clams. You can make a stir-fry on a kamado, for grilling’s sake! So load up your Saffire with all-natural lump charcoal, because you’re about to learn how to cook like a champion!
What Do You Want to Know?
Search Articles
Limit Search to Category
How to Clean Your Cooking Grids
Cleaning your cooking grids is an important part of making healthy food for yourself and your family! But, it’s not as hard or tedious as it sounds.
Cooking In Your Saffire
Learn the various ways you can cook in your Saffire, like smoking, grilling, even baking!
How to Control the Temperature of Your Saffire Kamado
Learn how far open the chimney top and the ash door need to be to get to the temperature you want. Note that the temperatures in this article provide general guidance. You will need to tweak the air vents a little until your Saffire settles at the temperature you desire.
How to Clean the Ash Out of Your Grill
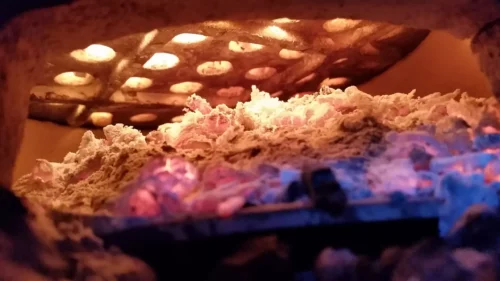
Cleaning the ash out of your BBQ grill is a very important step in using your Saffire. This article explains the steps.
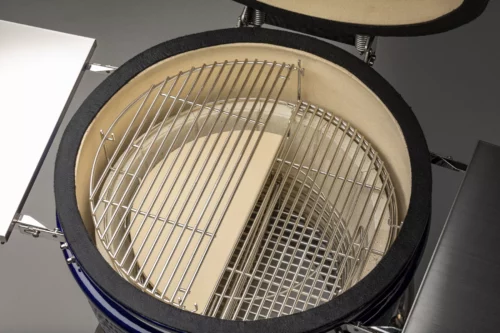
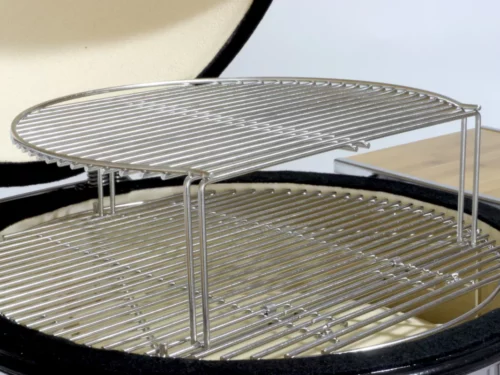
Using Your Cooking Grids
Learn how to use the cooking grids in your Saffire grill and smoker. The Saffire provides various ways to utilize your cooking grids.
How to Light the Charcoal in Your Saffire Grill
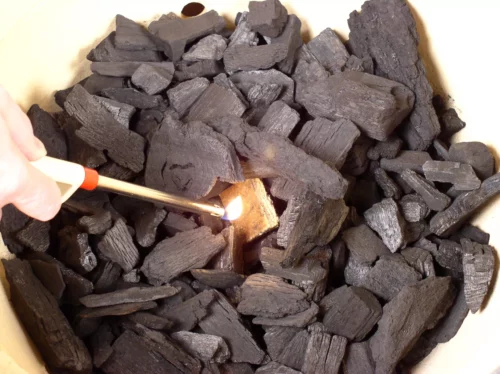
Starting your Saffire grill and smoker can be broken down into two steps: 1) preparing your grill and charcoal, and 2) lighting your charcoal and getting your Saffire up to temperature.

Recipes
The Easiest BBQ Vegetables on a Kamado in 5 Simple Steps
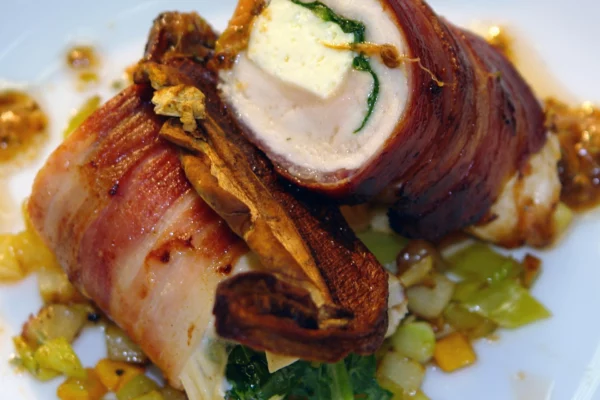
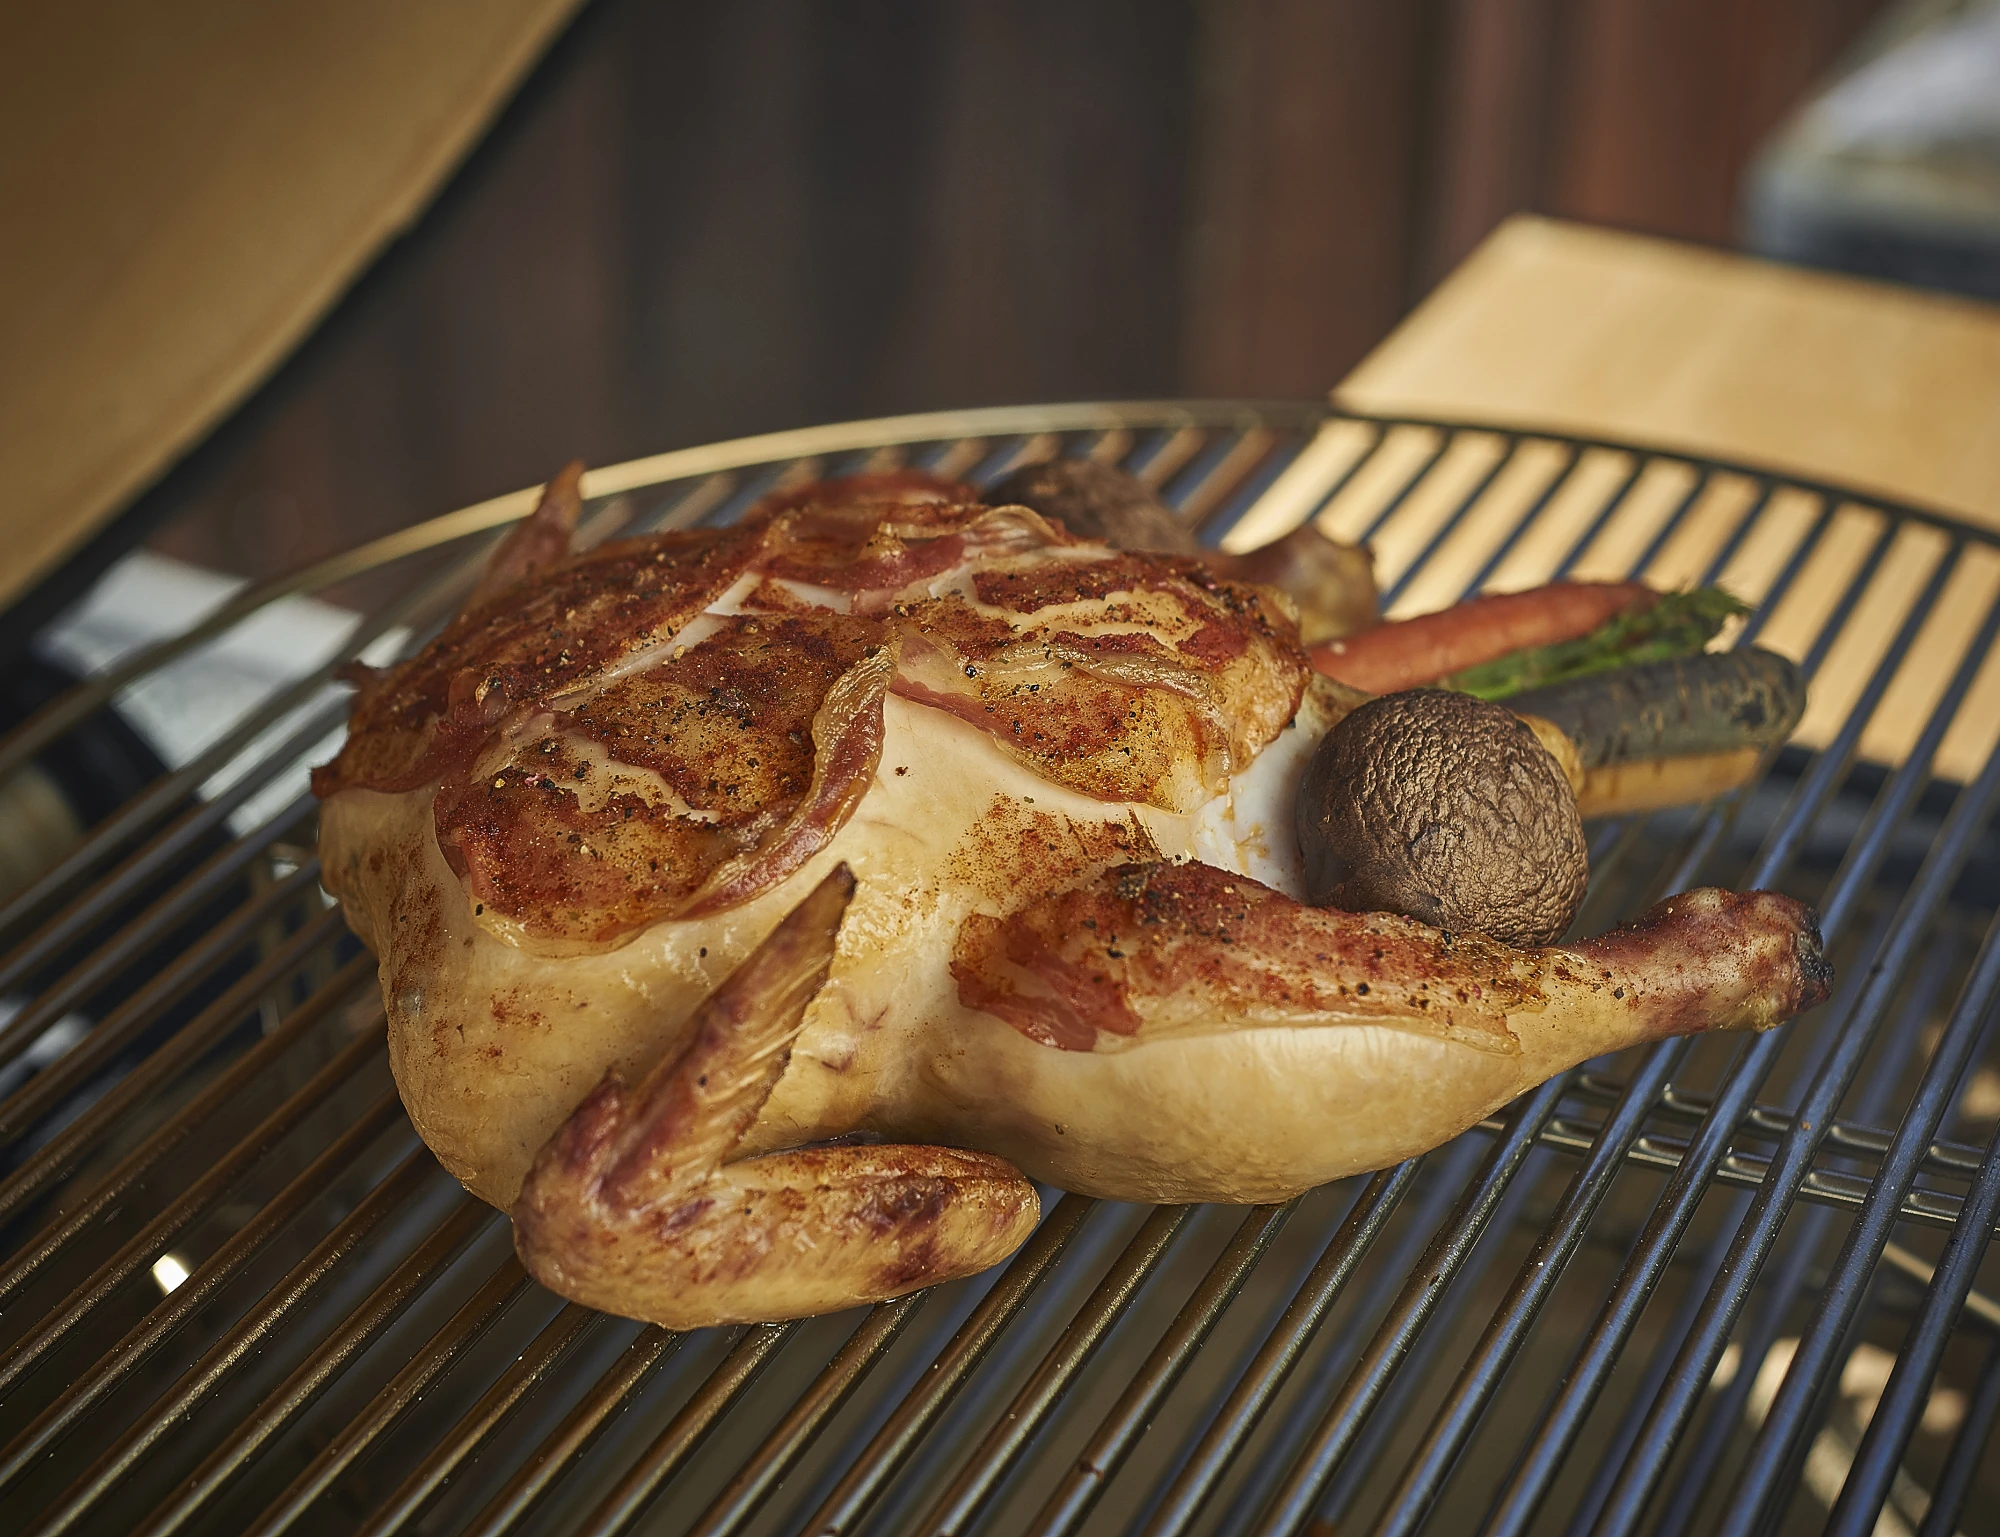
Cheesy, Bacon Wrapped Chicken with Hash Browns
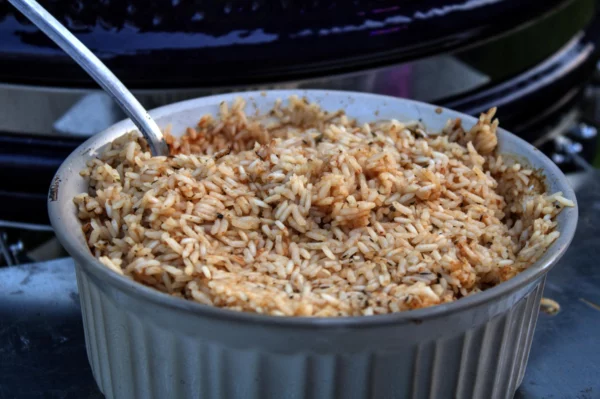
Ancient Rice Cooking Method – A Kamado Rice Recipe
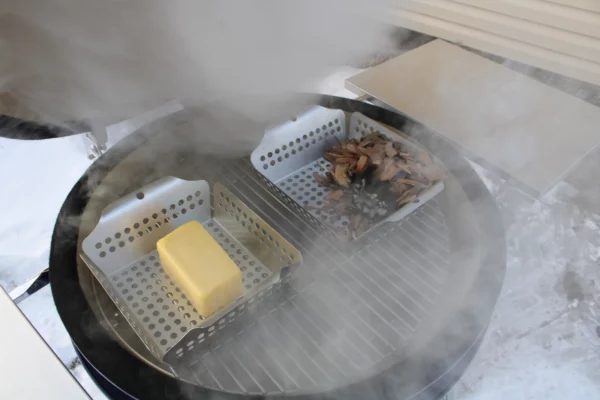
How to Smoke Cheese in a Saffire Kamado
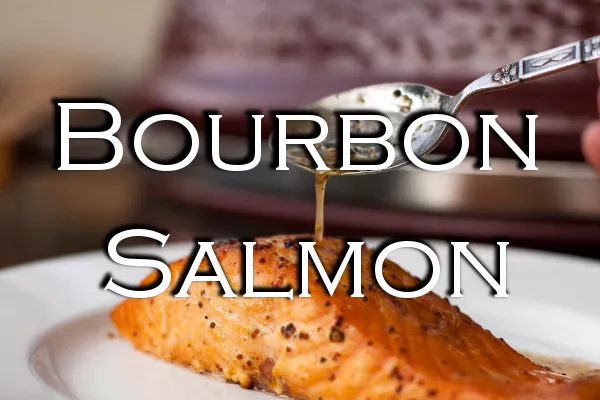
Bourbon Maple Smoked Salmon
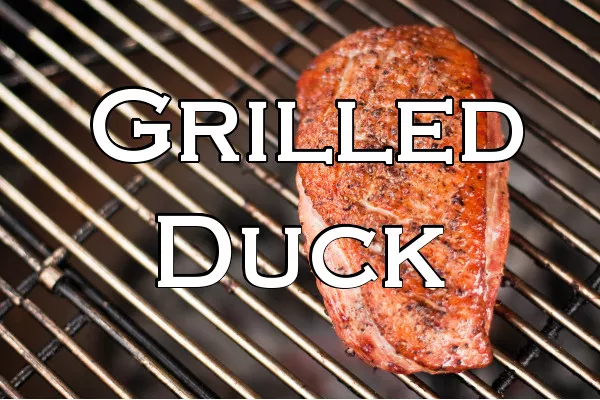
Kamado Grilled Duck Breast

Kamado Baked Cornbread

Saffire Braided Holiday Bread
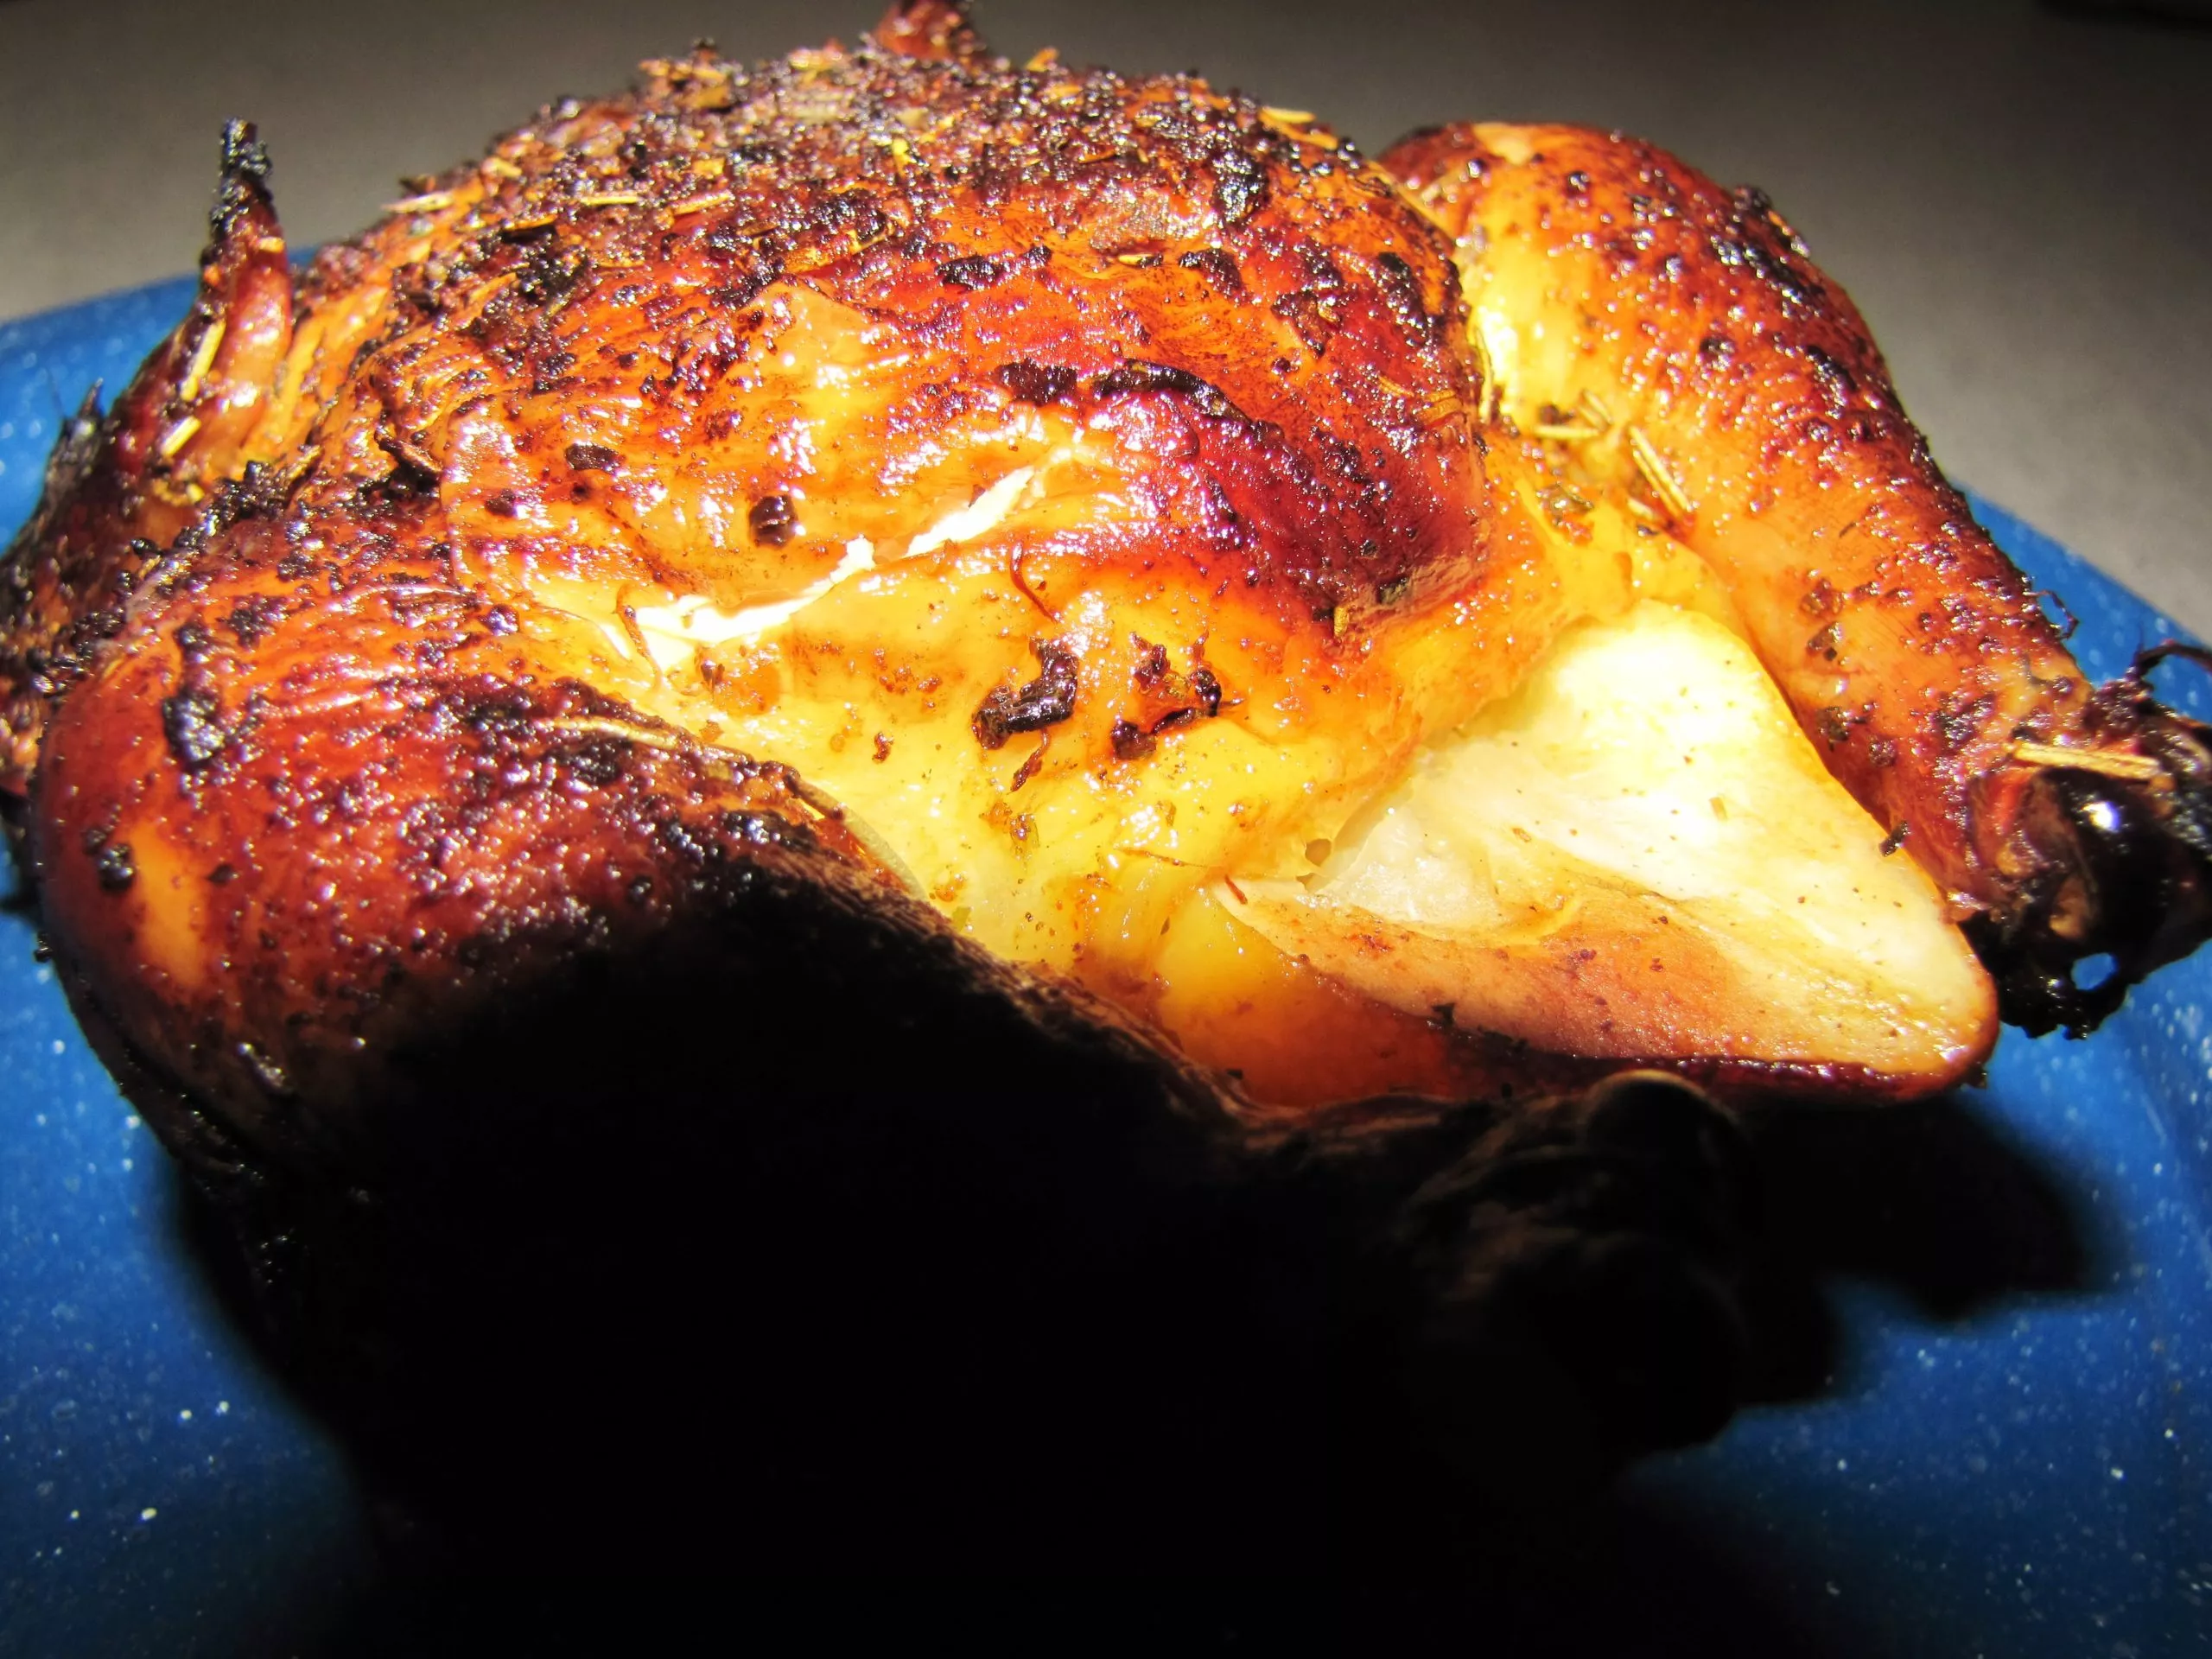
Smoked Cornish Game Hens
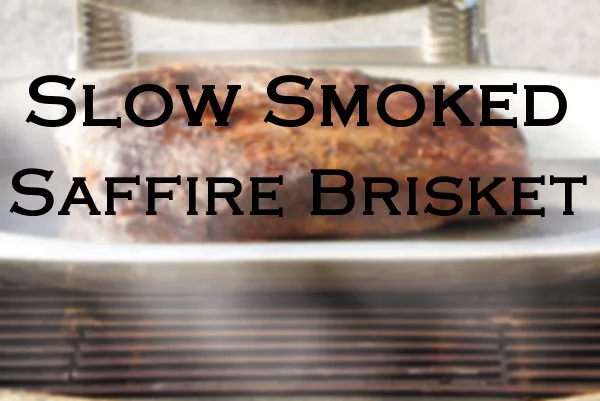
Kamado Smoked Brisket in a Ceramic Cooker

Cooking Guidelines
Pizza
General Guidelines
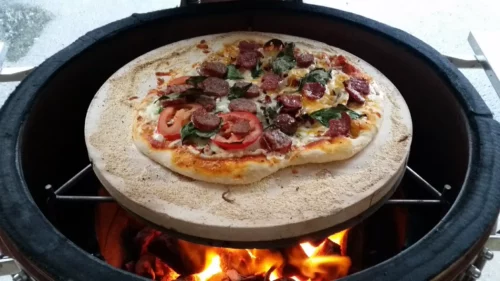
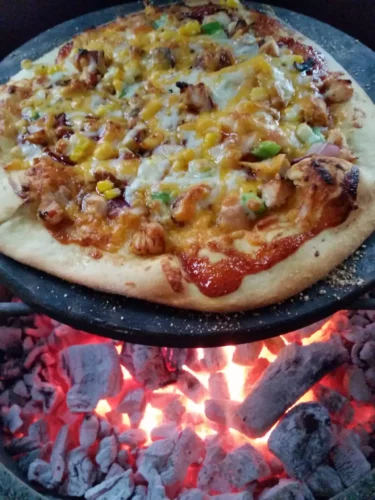
The Saffire makes a fantastic ceramic pizza oven! Here are three ways you can set it up:
- Place a Pizza Stone on top of the Cooking Grids, level with the top of the grill. (This may incur a little extra wear and stress on the Cooking Grids over time, especially if you are an avid pizza chef.)
- Invert the wire Multi-Rack and set the Pizza Stone on top.
- Mount the Saffire Accessory Bracket on the Multi-Rack and place the stone on top.
After adding the Pizza Stone, bring the grill up to 500°-600° F and maintain that temperature with the Air Controls set to high (see Controlling the Temperature).
Once the grill has reached 500°-600°, do not wait much more than a couple of minutes to put the pizza on. First spread a layer of corn meal on top of the Pizza Stone, and then place the pizza on that. Careful vigilance is required to ensure the pizza crust does not burn.
- When making pizza from scratch you can build your pizza right on the stone.
- Wearing gloves and using a Grid Gripper when transporting a hot Pizza Stone is highly recommended.

Tips for Preventing Burned Pizza
Here are some suggestions to help prevent the crust from burning. These are especially helpful when baking a thicker or stuffed pizza, calzone, etc., which has a tendency to burn on the bottom before it cooks in the middle. Doing all of these together will help more than any one individual suggestion.
- Place the pizza on a cold Pizza Stone, and then place the stone into the preheated kamado grill. The ceramic Pizza Stone absorbs more and more heat the longer it stays in the hot grill, making it more likely the bottom of your pizza will burn.
- Place the Ceramic Heat Deflector on top of the Multi-Rack, and then place the Pizza Stone on top of the deflector. This provides a higher heat deflection to absorption ratio. You may also substitute a second Pizza Stone in place of a Heat Deflector.
- To keep the Pizza Stone the pizza sits on cooler, rotate that Pizza Stone out with each new pizza you make. You would need at least two Pizza Stones to do this, as well as a Heat Deflector or Pizza Stone for the top Pizza Stone to sit on (see suggestion #2). We suggest using the Grid Gripper, with cooking gloves, to hold onto hot Pizza Stones, along with your Ash Tool to hold it steady as needed.

Warnings — Safety and Long Product Life
While Saffire’s are very durable and safe devices to use when used correctly, we want you to know what not to do with your grill for the safest experience and longest lasting grill possible. Some of these warnings are common knowledge, and some are not, so we advice you to read through them at least once.
Safety
Burning charcoal generates carbon monoxide, which can be fatal in large amounts. Don’t use your grill in your home, garage or tent. Allow your grill to fully cool down before storing inside.
As with most grills, this can cause the additional smoke in the top of the grill to ignite into a ball of flame when it is opened. When opening the grill it is always a good practice to first open the Chimney Top completely and then lift the lid open one or two inches and hold there for a count of 5. Then open the lid fully. This allows both oxygen to enter and excess smoke to exit the grill slowly and safely.
Allowing temperatures that exceed 900° F poses a safety hazard, as the grill itself could crack.
The under grill mat should be underneath the grill, and reach at least 18″ away from the front of the grill. Hot coals and embers, if fallen or shot from the grill, can slowly start fires on combustible surfaces, leading to unforeseen property damage and loss of life.
The ash in your grill may take more than two hours to fully cool. Wait several hours to clean out the ash, or wait and do so before your next cook.
Ash may still be extremely hot, even when it seems cool. Storing ash in a combustible container may lead to unintentional fires.
Saffire’s ceramics make them much safer than traditional metal grills, however there are a few hot spots you should be aware of. The Smokin’ Chip Feeder cap on the front of your grill and the Chimney Top can get very hot as the temperature on your grill rises. Be careful when touching these metal components while the grill is in use. Protective gloves may be necessary.
Danger to Equipment
Consistent cooking at temperatures that exceed 700° F may reduce the life-expectancy of your grill.
Not only does lighter fluid have an odor and lower the quality of your food, but it can also damage the ceramics in your grill.
This prevents air from flowing around the grate, causing the grate to get extremely hot and reducing its life expectancy.
Soaking ceramic components in water for extended periods of time may increase their risk of breaking, limiting their overall lifetime. (In the case of accidental soaking, allow ceramic components to air-dry for at least 24 hours before further use in the grill.)
Salt is highly corrosive to metals. Powder-coated steels are extremeley susceptible to rust when in contact with this chemical, and even 304 stainless steel can rust with long-term exposure. If your grill is on the beach front, be sure to spray your grill down once it’s cooled after each use, and then cover it.
Chlorine is highly corrosive to metals. Never keep your grill near a hot tub, where chlorine spray and fumes can eat away at the steel components, including bands, hinge and springs.