Assembling a Saffire cart is pretty straight forward.
Parts
When you open the box you will have:
- 4 legs with the wheels already attached: two legs will have locking brake caster wheels, and two will have regular caster wheels without brakes
- 2 cross-connector pieces with pre-drilled screw holes
- 16 screws to assemble the cart
- 8 felt liners with a peel away sticky backing, to protect the grill from scratches.
Cart Assembly
Take one of the legs with a locking caster wheel and turn it so the caster wheel is facing up toward you. Insert the two cross-connectors into the openings of the leg, with the flat side of the connector facing up toward you. One cross connector will fit into the top opening of the leg, and the other in the bottom. Put four screws through the leg and the cross-connectors, and tighten them really well.
Take the other leg with a locking caster wheel and insert it into the cross-connectors, next to the one you’ve already inserted. Use four more screws to attach the leg loosely.
You should now have two cart legs left, without locking brakes, to attach. Attach these to the cart next to each other using the remaining screws. Tighten them loosely.
You now have a fully assembled Saffire grill cart. Review the cart to ensure the two locking brake caster wheels are side by side of each other, and the non-locking caster wheels are also side by side of each other. If the locking caster wheels are across from each other, move the legs around so they are side by side.
Tighten all of the screws firmly.
With the cart fully assembled, turn it over onto the caster wheels, face the locking brakes toward you and apply the locking brakes.
Felt Liners
Now apply the protective felt liners, so the cart won’t scratch up your grill.
First you will be applying four protective felt liners to the inside corners of the cart cradle, where the grill will sit. One by one, peel off the paper from the back of four felt liners and apply the sticky side to the inside corners of the cart cradle.
Next you will be apply the remaining four protective felt liners to the vertical support arms of the cart, preferably near the top. One by one, peel off the paper on the back of the felt liners and apply the liners to the inside support arms of the cart.
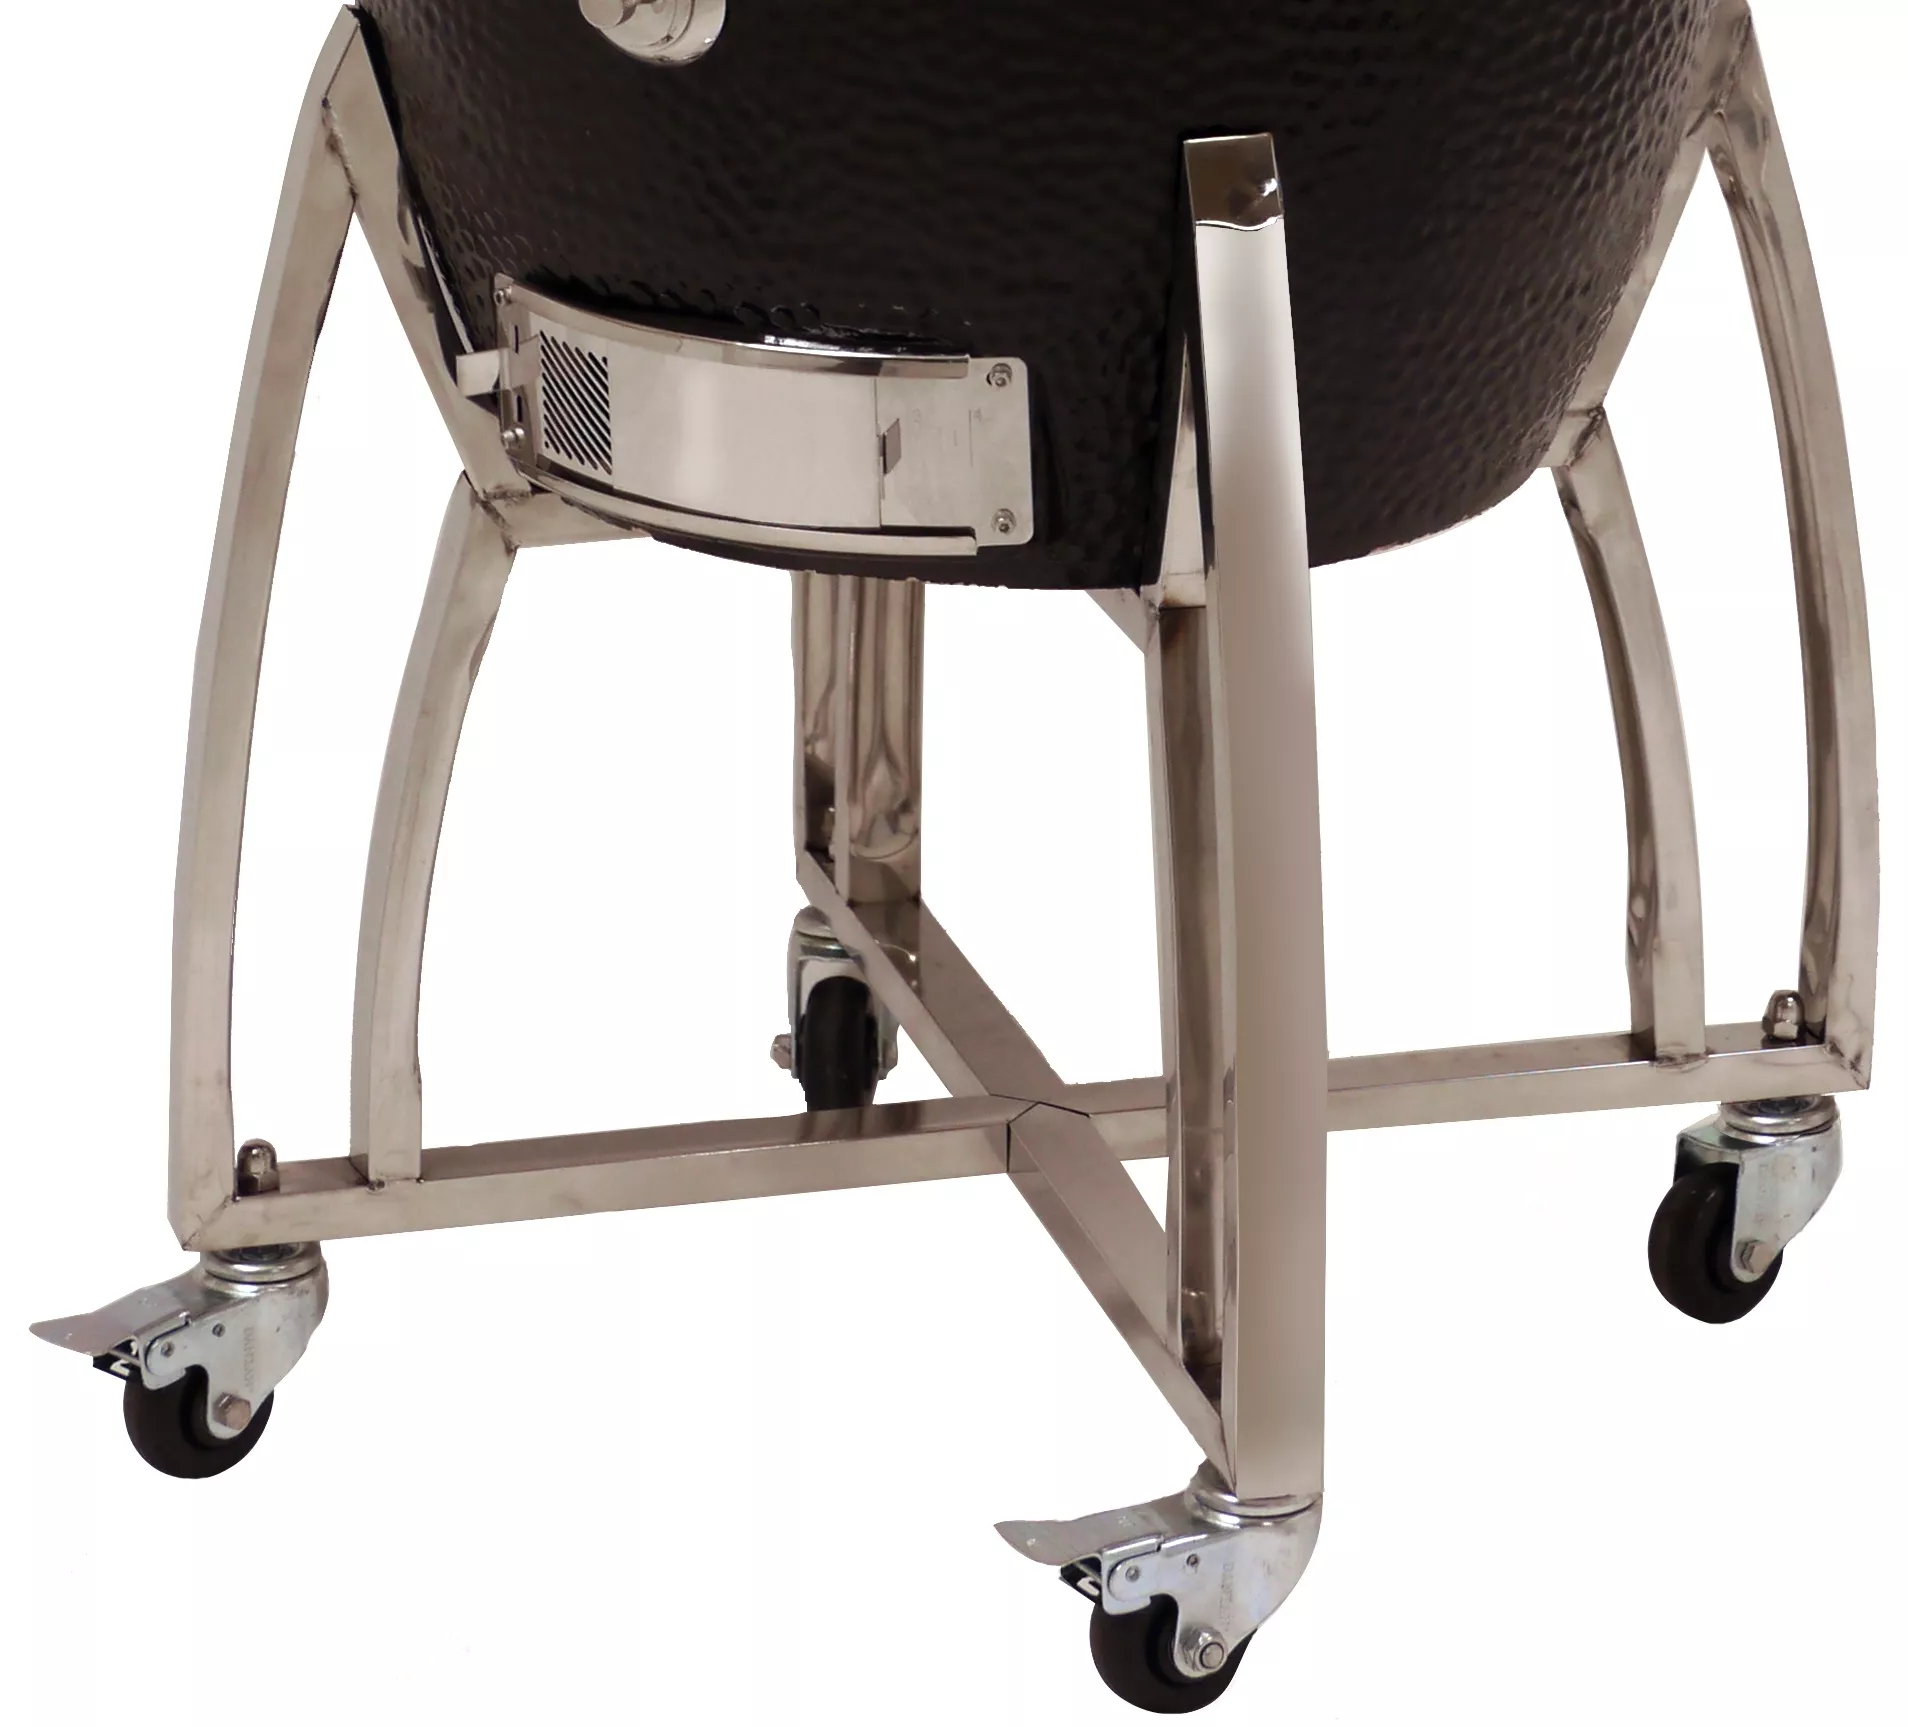
Ready to Insert the Grill!
With the brakes applied and the felt liners attached, the cart is now ready for the grill to be inserted into the cart cradle.
Note: Remember to insert the grill so it faces the locked brakes! In the future you will appreciate having easy access to the locking brakes while using your grill.